 Sep, 25 2026
Radiator Replacement Time Estimator
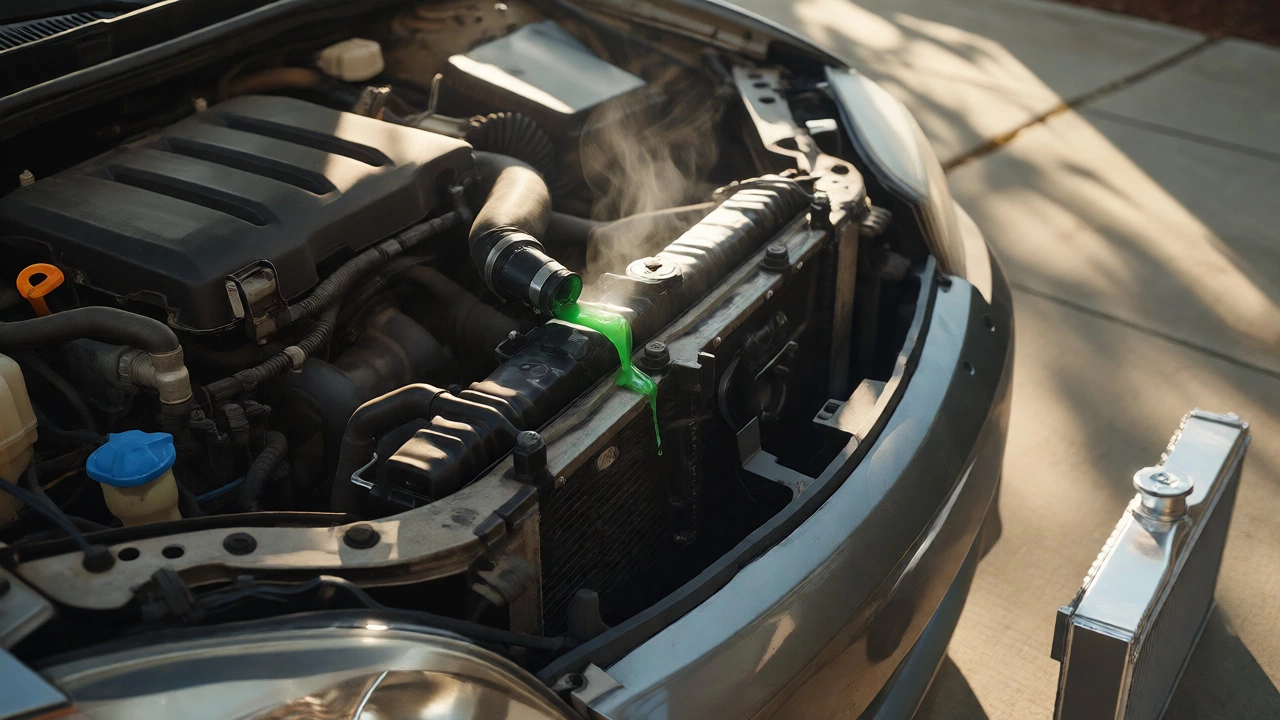
You’re standing in your driveway, staring at that steaming puddle under the hood. The coolant is gone, the engine is hot, and you’ve got a new car radiator sitting on the garage floor. The first question screaming in your head isn’t "how do I do this?" but "how long will this actually take?" If you’re doing it yourself, expect anywhere from two to four hours. If you’re handing it off to a pro, they’ll likely bill you for one to three hours of labor. But those numbers are just averages. The real answer depends on whether you’re fighting rusted bolts or sliding in a quick-swap unit.
The Short Answer: Labor Hours vs. Real-World Time
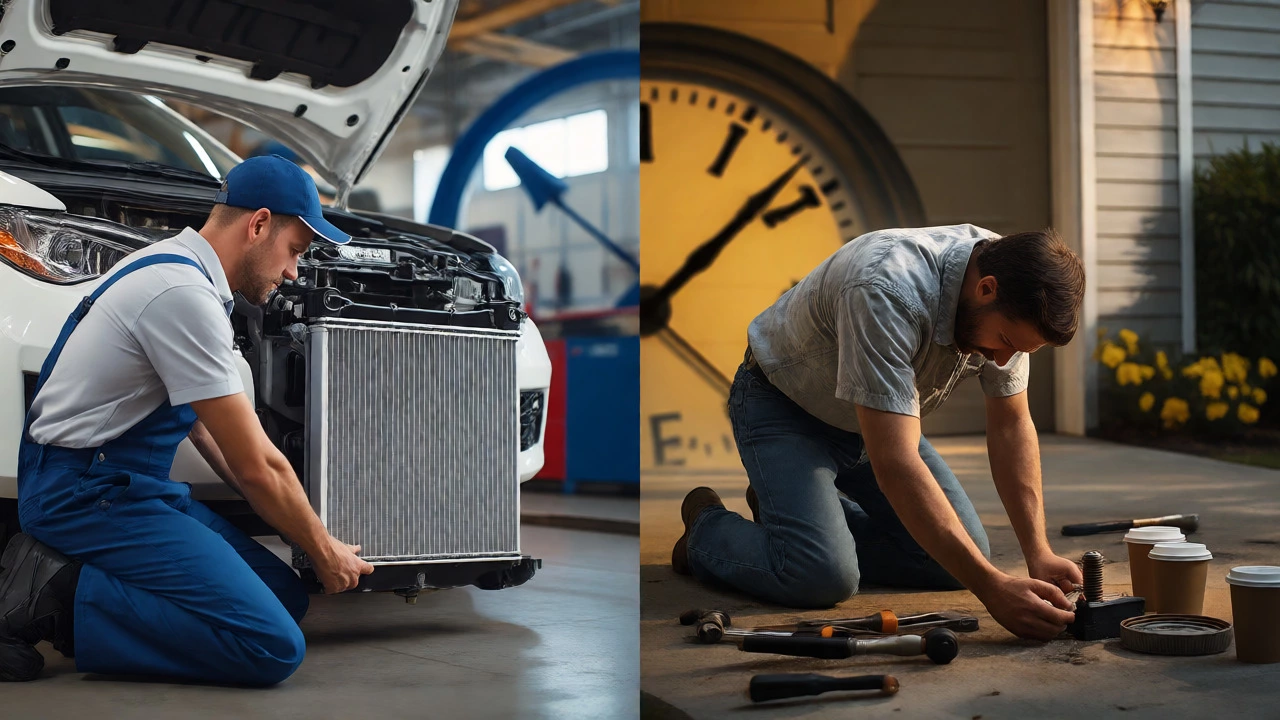
Let’s cut through the noise. When mechanics quote labor times, they use standardized books like Mitchell1 or Alldata. These books assume a trained technician with perfect tools and no surprises. For a standard front-engine vehicle, a radiator replacement typically takes 1.5 to 3.0 hours. That’s why you see quotes around $150-$300 for labor alone. But here’s the catch: if you’re a DIYer, add 50% to 100% to that time. Why? Because you don’t have the specialized pullers, you’re learning as you go, and you’re stopping to find the right 10mm socket every five minutes. A job that takes a pro 90 minutes might take you three hours. And if you hit a snag-like a seized bolt or a hidden transmission cooler line-it could stretch to five hours. Don’t panic; just plan your weekend accordingly.
| Scenario | Professional Mechanic (Labor Hours) | DIY Enthusiast (Real-Time) | Beginner DIYer (Real-Time) |
|---|---|---|---|
| Standard Sedan/Hatchback | 1.5 - 2.0 hrs | 2.5 - 3.5 hrs | 4.0 - 6.0 hrs |
| SUV/Truck (Front Engine) | 2.0 - 3.0 hrs | 3.5 - 4.5 hrs | 5.0 - 7.0 hrs |
| Luxury/European Vehicle | 2.5 - 4.0 hrs | 4.0 - 6.0 hrs | 6.0 - 8.0+ hrs |
| Rear-Mounted Radiator | 3.0 - 5.0 hrs | 5.0 - 7.0 hrs | 8.0+ hrs |
Why Some Cars Take Twice as Long
Not all radiators are created equal, and neither are the cars they live in. The biggest time-saver-or killer-is accessibility. In older Japanese sedans like a Toyota Camry or Honda Accord, the radiator often sits right up front, behind a simple plastic cover. You unbolt two brackets, disconnect two hoses, and slide it out. Easy. Now try replacing a radiator in a modern BMW or Mercedes. These cars often require removing the entire front bumper assembly, which involves dozens of clips, sensors, and wiring harnesses. Add to that the fact that many European cars use plastic end tanks on their radiators that crack easily, forcing you to be extra gentle. Then there are the transverse-mounted engines where the radiator is tucked tight against the condenser and AC lines. One wrong move and you vent your refrigerant, turning a radiator job into an AC recharge job too. Another major factor is the type of mounting hardware. If your car uses rubber isolators and metal tabs, you’re in luck. If it uses threaded studs with nuts that have been baking in heat cycles for ten years, grab your penetrating oil and wait twenty minutes before you even start turning wrenches.
The Step-by-Step Breakdown: Where the Time Goes
To understand the timeline, let’s break down the actual work. This isn’t just about pulling parts; it’s about managing fluids and ensuring nothing leaks afterward.
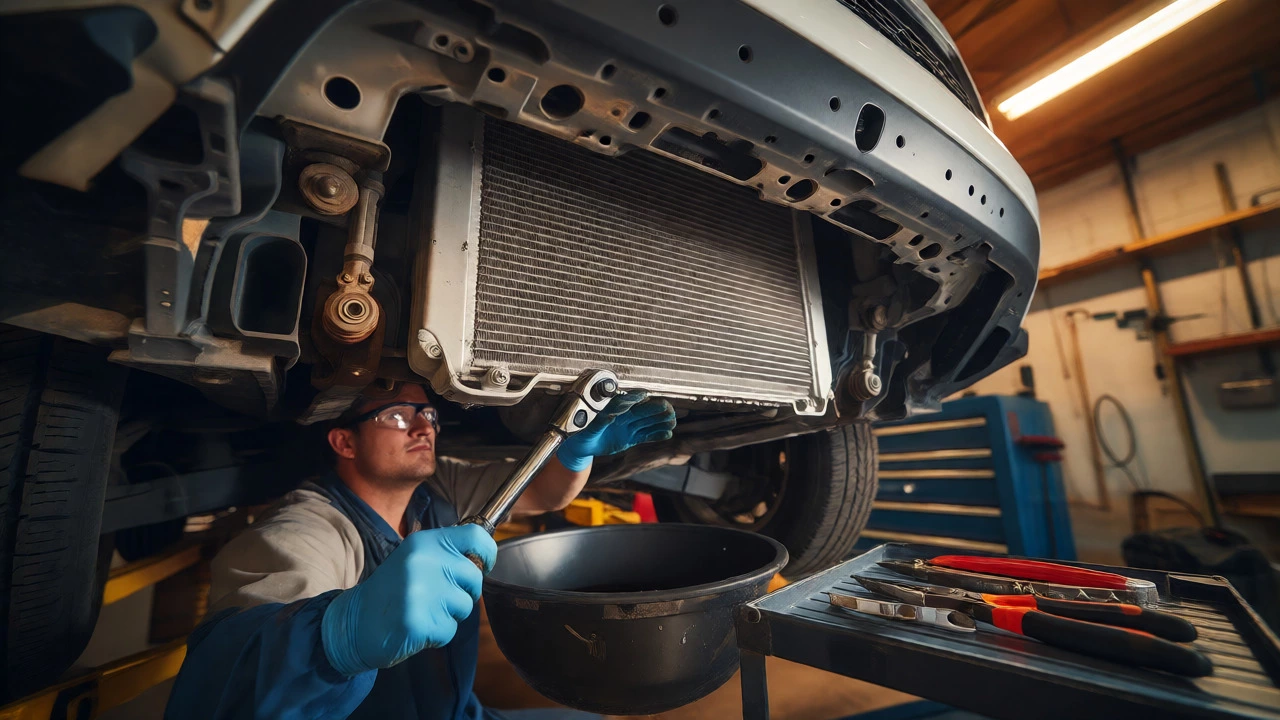
- Preparation and Drainage (15-30 mins): You can’t pull the radiator until the system is drained. If the engine is hot, you need to wait for it to cool. Then you locate the drain plug (if present) or disconnect the lower hose. Catching all the coolant requires precision. Miss it, and you’re wiping up slick green liquid for another ten minutes.
- Disconnecting Hoses and Lines (20-45 mins): This is where beginners struggle. Upper and lower radiator hoses are held by clamps. If they’re spring-type clamps, you need special pliers. If they’re worm-gear clamps, you need a screwdriver. Worse, some cars have automatic transmission cooler lines running through the radiator. Disconnecting these without spilling fluid or losing O-rings takes care. If you strip a fitting, add an hour.
- Removing Fans and Shrouds (10-20 mins): Most electric fans sit between the radiator and the engine. You have to unbolt them and set them aside carefully so they don’t fall into the fan blades or scratch the new radiator. On some trucks, the fan shroud is huge and awkward, requiring two people or a lot of patience to maneuver.
- Extracting the Old Radiator (10-15 mins): Once everything is disconnected, the radiator usually slides forward or upward. Watch out for sharp fins! They bend easily and can slice your fingers. If the old radiator is stuck due to corrosion on the mounting tabs, you might need a pry bar and more time.
- Installing the New Unit (20-30 mins): Reverse the process. Align the tabs, insert the gaskets (if any), and hand-tighten the bolts first. Do not torque them down yet. Connect the hoses and make sure the clamps are seated properly on smooth surfaces, not over bumps.
- Filling and Bleeding (30-60 mins): This is the most critical step. You fill the reservoir with coolant, then run the engine with the cap off. Air bubbles get trapped in the system, causing hot spots. You need to squeeze the upper radiator hose while the thermostat opens to purge air. If you skip this, your car overheats, and you’re back to square one.
DIY vs. Professional: Is Saving Money Worth the Risk?
Should you do it yourself? If you have basic tools-a jack stands, socket set, drain pan, and pliers-and you’re comfortable working with hot fluids, yes. The part itself costs $50-$150 for aftermarket units, or $150-$300 for OEM. A shop charges $100-$200 for the same part plus labor. So you save roughly $150-$300 in labor fees. But consider the risks. Modern cooling systems are pressurized. If you don’t bleed the system correctly, you risk warping the cylinder head. That’s a $2,000 mistake on a $100 job. Also, if you damage an AC line or a sensor connector, the repair bill balloons quickly. Professionals have pressure testers to verify the system holds vacuum and pressure before they hand back the keys. They also know the specific bleeding procedure for your model, which varies wildly. Some cars require a specific sequence of revving the engine to open thermostats. Others need a vacuum fill tool. If your car is under warranty, check the terms. DIY repairs can sometimes void powertrain warranties if not documented correctly. For most daily drivers over ten years old, however, DIY is a solid choice if you have the time.
Red Flags That Will Double Your Repair Time
Even experienced mechanics dread certain scenarios. Here’s what turns a routine swap into an all-day project:
- Seized Bolts: Heat cycles turn steel bolts into rusted monuments. If a mounting bolt snaps, you need an extractor kit and possibly drilling out the stud. Add 1-2 hours.
- Plastic Hose Connections: Many newer cars use quick-connect fittings instead of clamps. These rely on internal teeth that degrade. Pulling them apart incorrectly can destroy the fitting, requiring a replacement hose ($20-$50) and extra time to source it.
- Hidden Transmission Coolers: Some vehicles route transmission fluid through the radiator. If the internal baffle fails, ATF mixes with coolant. Cleaning this out isn’t just swapping the radiator; it’s flushing the entire transmission line. This adds significant complexity.
- Bumper Removal: As mentioned, luxury cars hide the radiator behind complex fascia assemblies. Removing the bumper involves electrical connectors for fog lights, parking sensors, and cameras. Reinstalling it perfectly aligned takes finesse.
Pro Tips to Speed Up Your Job
If you’re tackling this yourself, here’s how to keep the clock ticking in your favor:
- Buy a Kit: Look for radiator replacement kits that include new clamps, gaskets, and sometimes even the upper/lower hoses. Trying to reuse old, brittle clamps is a false economy.
- Use Distilled Water Mix: Don’t guess your coolant ratio. Use pre-mixed 50/50 coolant or mix distilled water with concentrate. Tap water minerals cause scale buildup that kills future radiators.
- Pressure Test First: Before installing the new radiator, pressure test the rest of the system (hoses, heater core, water pump). If the water pump is leaking, replace it now while everything is apart. Doing it later means repeating half the labor.
- Label Everything: Take photos before disconnecting anything. Label wires and hoses with tape. Future-you will thank present-you when reassembly starts.
Can I drive my car with a bad radiator?
You can drive short distances if the leak is minor, but it’s risky. A small drip might mean you lose a cup of coolant per trip, which you can top off. However, if the radiator has cracked internally or the leak is substantial, driving causes rapid overheating. Overheating can warp the cylinder head or blow a head gasket within minutes, turning a $100 repair into a $2,000 engine rebuild. Always monitor your temperature gauge closely.
Do I need to replace the thermostat when changing the radiator?
It’s not strictly required, but it’s highly recommended. The thermostat is cheap ($15-$30) and located near the radiator connections. Since you’re already draining the coolant and accessing the area, replacing it ensures proper flow regulation. An old thermostat might stick closed after being disturbed, leading to immediate overheating with the new radiator.
How much does it cost to replace a radiator professionally?
Total costs typically range from $300 to $900+. Parts account for $100-$300 depending on whether you choose aftermarket or OEM. Labor ranges from $150 to $400 based on local rates and vehicle complexity. Luxury or hard-to-access vehicles push the price higher. Always ask for a breakdown of parts vs. labor in the estimate.
What happens if I don't bleed the air out of the cooling system?
Air pockets act as insulators, preventing coolant from circulating properly. This leads to localized hot spots in the engine block, particularly near the cylinder heads. Symptoms include fluctuating temperature gauges, poor heater performance inside the cabin, and eventual overheating. Severe cases can cause engine damage despite having full coolant levels.
Is it better to buy aluminum or copper/brass radiators?
Most modern cars use aluminum/plastic radiators because they are lighter and cheaper to manufacture. Copper/brass radiators offer superior heat transfer and durability but are heavier and more expensive. Unless you’re restoring a classic car or towing heavy loads regularly, stick with the OEM-style aluminum unit designed for your vehicle’s weight and airflow characteristics.