 Apr, 28 2026
Radiator Replacement Cost Estimator
Compare DIY savings versus professional mechanic costs
Part & Material Costs
Professional Labor Estimate
DIY Total Cost
$0.00
Professional Total
$0.00
Your Savings
$0.00
Key Takeaways for Your DIY Radiator Swap
- Safety first: Never open a hot radiator; the pressurized steam can cause severe burns.
- Check your coolant type: Using the wrong mixture can lead to engine sludge.
- Bleeding the system is the most critical final step to prevent overheating.
- Gather the right tools: You'll mostly need a socket set, pliers, and a drain pan.
Before you grab your wrench, let's define what we're actually dealing with. Car Radiator is a heat exchanger used to cool the internal combustion engine by transferring heat from the coolant to the surrounding air. It consists of a core, tanks, and a cap that regulates pressure. When this component fails, your engine loses its ability to shed heat, which can lead to a warped cylinder head or a completely seized motor if you keep driving.
Knowing if You Actually Need a New Radiator
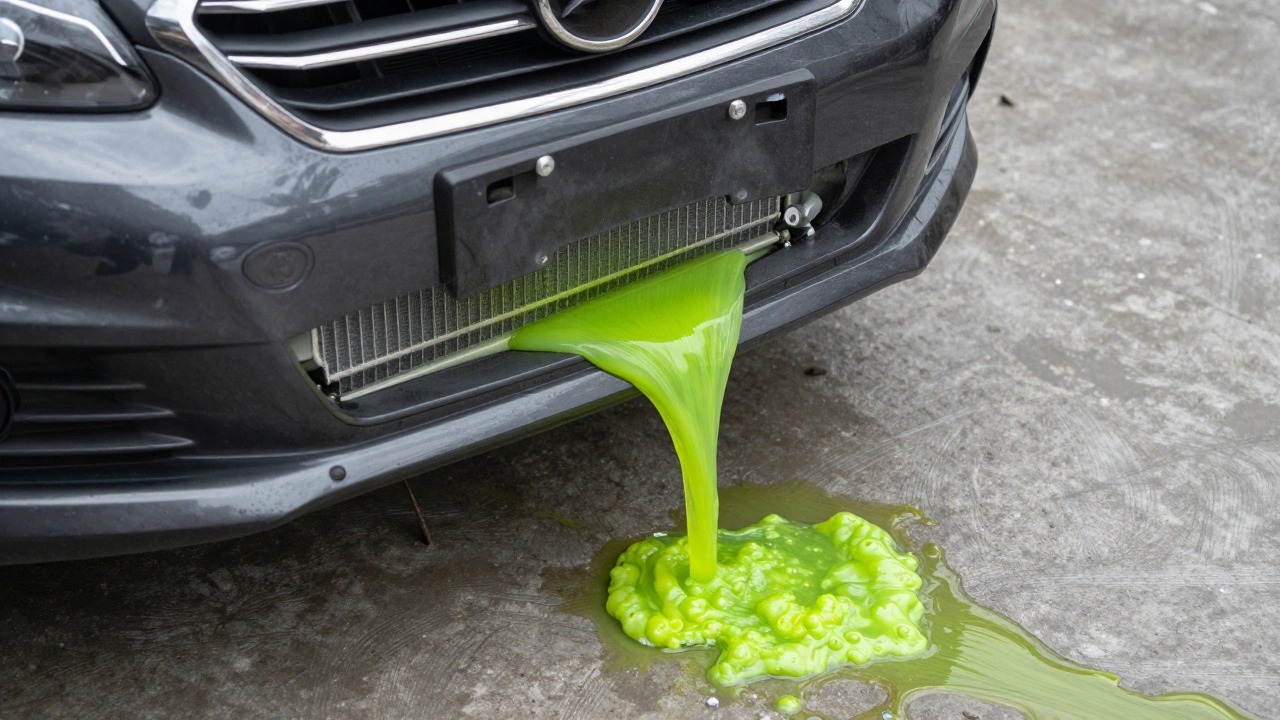
Not every leak requires a full replacement. Sometimes a hose clamp just needs tightening or a small puncture can be patched. However, if you see "milky" coolant (which suggests a head gasket failure) or if the aluminum fins are crushed and corroded, it's time for a new one. Look for the "weeping" effect where coolant slowly seeps through the seams of the radiator tanks. If the plastic end tanks are cracking due to age and heat cycles, a patch won't hold the 15 psi of pressure these systems generate.
Before buying a part, check your vehicle's specifications. A OEM Radiator is Original Equipment Manufacturer part designed specifically for your car's make and model. While aftermarket options are cheaper, OEM parts usually fit better and offer better heat dissipation. If you're choosing an aftermarket version, ensure it is a direct-fit replacement and not a "universal" model that requires cutting your support brackets.
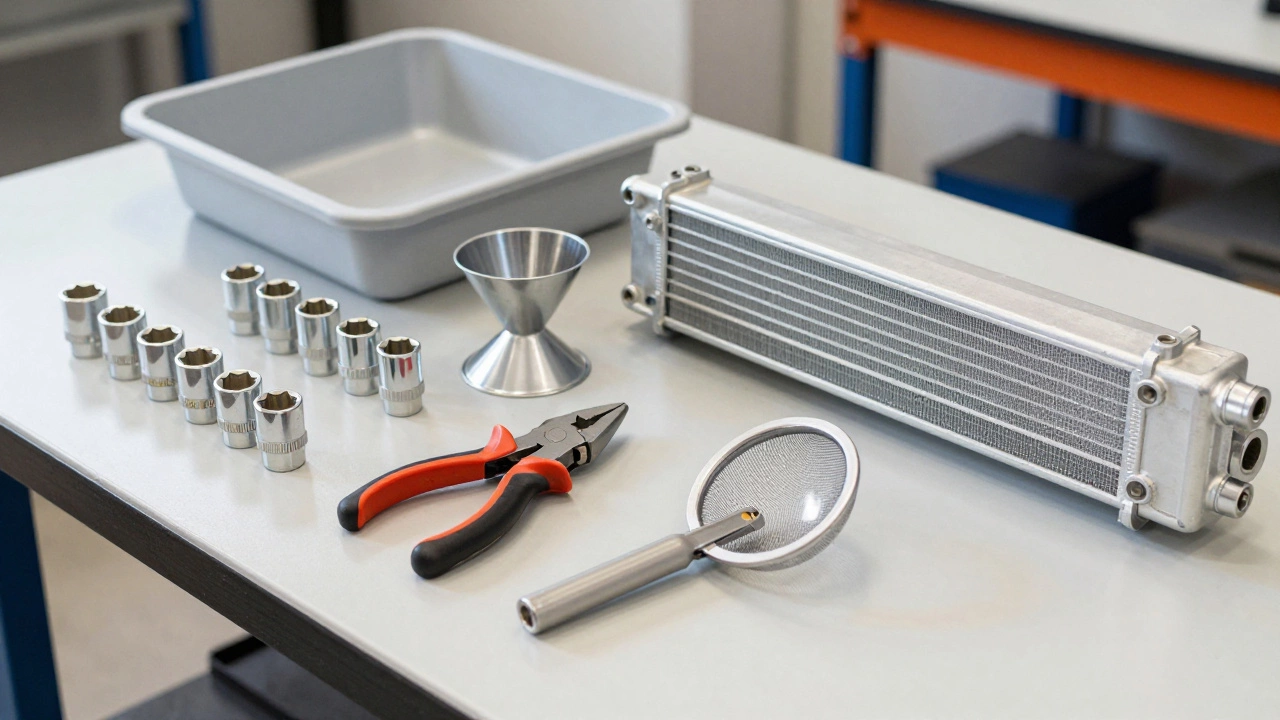
The Tool Kit You'll Need
You don't need a professional lift, but you will need a few basics. Start with a drain pan that holds at least 5-10 liters of fluid. You'll need a socket set (usually 8mm and 10mm for most cars), a pair of slip-joint pliers for the hose clamps, and some shop rags. I highly recommend getting a funnel with a built-in screen to prevent debris from entering your engine during the refill process.
| Feature | Aluminum Radiator | Copper/Brass Radiator |
|---|---|---|
| Weight | Lightweight | Heavier |
| Heat Transfer | Very Efficient | Good |
| Durability | Prone to corrosion if coolant is old | More resistant to corrosion |
| Common Use | Modern vehicles (2000+) | Vintage/Classic cars |
Step-by-Step: How to change car radiator
Follow these steps precisely. Skipping one can lead to a messy garage or an engine that overheats the moment you leave your driveway.
- Cool Down: Wait at least two hours after driving. If the engine is hot, the coolant is under pressure and will spray out like a geyser.
- Drain the System: Place your drain pan under the radiator petcock (the small plastic screw at the bottom). Open it and let the fluid empty. If your car doesn't have a petcock, you can remove the lower radiator hose.
- Remove the Upper Hose: Squeeze the clamp and slide it back. Gently pull the hose off the radiator neck. Be ready for some leftover fluid to spill out.
- Disconnect the Fan: The Radiator Fan is an electric or mechanical fan that pulls air through the radiator fins when the car is idling. Unplug the electrical connector and unscrew the fan assembly from the radiator shroud.
- Detach the Transmission Cooler: If you have an automatic transmission, your radiator likely has two small lines running into it. These carry transmission fluid. Carefully disconnect them and plug the lines with small bolts or caps to prevent fluid loss.
- Lift the Unit Out: Remove the mounting brackets or rubber bushings holding the radiator in place. Carefully lift the old unit out of the engine bay.
- Install the New Unit: Slide the new radiator into position. Reattach the mounting brackets first to ensure it's centered before you start fighting with the hoses.
- Reconnect Everything: Reverse the steps. Attach the transmission lines, the fan, and finally the hoses. Use new hose clamps if the old ones look stretched or rusted.
The Critical Phase: Refilling and Bleeding
Putting the radiator in is the easy part. The hard part is getting the air out. If you leave a pocket of air (an air lock) in the system, your engine will overheat even with a brand new radiator. This happens because air doesn't transfer heat nearly as well as liquid.
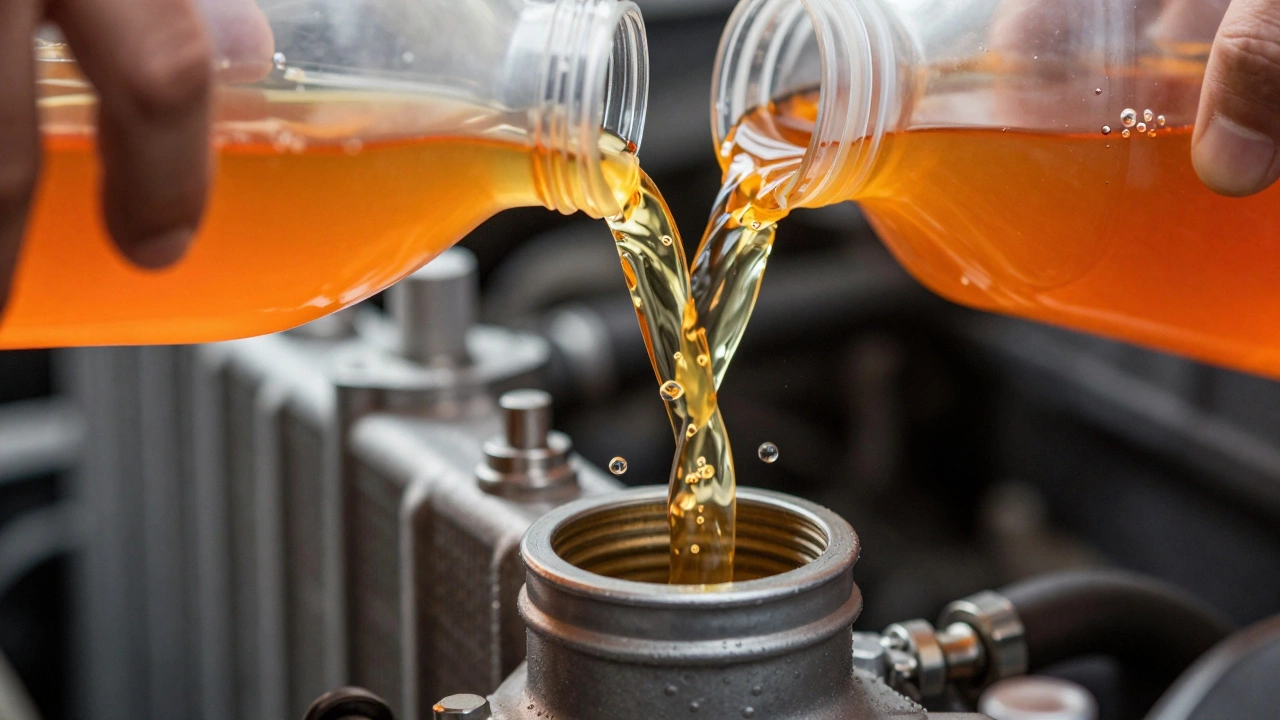
Fill the radiator with a 50/50 mix of Engine Coolant is a mixture of ethylene glycol or propylene glycol and distilled water used to regulate engine temperature. Pour slowly. Once it's full, leave the radiator cap off and start the engine. Turn your heater to the highest setting-this opens the heater core and allows air to escape from the cabin's heating loop.
As the engine warms up and the thermostat opens, you'll see the coolant level drop. Top it off as it goes. Once bubbles stop appearing in the radiator neck, put the cap on tight. Check your Coolant Expansion Tank, which is the plastic reservoir that holds extra fluid, and fill it to the "Full" line.
Common Pitfalls and Pro Tips
One mistake I see often is people using tap water. Never do this. Tap water contains minerals that create scale buildup inside the narrow passages of your radiator, essentially clogging it from the inside out. Always use distilled water if you are mixing your own concentrate.
Another common issue is ignoring the radiator cap. The Radiator Cap is a pressure-relief valve that keeps the coolant from boiling at a lower temperature. If the seal on the cap is worn, your system won't pressurize, and the coolant will boil over, even if the radiator itself is brand new. If your cap looks old, spend the ten dollars to replace it while you're already in there.
Keep an eye on your transmission fluid after the swap. If you accidentally mixed coolant into the transmission lines during the process, you'll see a "strawberry milkshake" color in the dipstick. If that happens, stop immediately and flush the transmission; otherwise, you'll destroy the gears.
Can I use just water instead of coolant?
Only in an emergency. Pure water boils at a lower temperature than coolant and will freeze in the winter, which can crack your engine block. It also lacks the corrosion inhibitors needed to keep the metal inside your radiator from rusting.
How long does it take to change a radiator?
For a beginner, expect it to take about 3 to 5 hours. The actual physical swap is quick, but draining the system and properly bleeding the air out of the cooling loop takes time and patience.
Do I need to flush the whole system if I replace the radiator?
Yes, it's highly recommended. If your old radiator failed due to corrosion or sludge, those particles are still floating in your engine block. A full flush ensures the new radiator doesn't get clogged immediately.
What if I can't get the air bubbles out?
Some cars have a specific "bleeder valve" on a hose near the firewall. If yours does, open that while filling. If not, try parking the car on a slight incline with the front end up; this pushes air pockets toward the radiator where they can be easily removed.
Is it dangerous to do this myself?
As long as you wait for the engine to cool completely, it is safe. The main risks are chemical burns from coolant (which is toxic) and burns from steam. Always wear gloves and eye protection.
Next Steps and Troubleshooting
After you've finished the job, drive the car for 15 minutes, let it cool down completely, and check the coolant level again. It's normal for the level to drop slightly after the first few heat cycles as the last remaining air pockets escape. Top it off one last time.
If the car starts overheating again, check for leaks around the hose clamps. Tighten them slightly more, but be careful not to strip the threads or slice the rubber. If you see white smoke from the exhaust, you might have a more serious problem like a blown head gasket, which a new radiator won't fix. In that case, it's time to visit a professional shop for a compression test.