 Sep, 15 2026
Brake Pad Wear Estimator
Use a caliper or ruler to measure the friction material (not the metal backing plate). New pads are typically 10-12mm.
Select any noises or feelings you have experienced recently.
There is a specific sound that makes most drivers’ stomachs drop. It’s that harsh metal-on-metal grinding when you press the brake pedal at a stop sign. If you hear it, your brake pads are long gone, and you’re likely damaging your rotors too. But waiting for that noise is risky. By then, you’ve already compromised your stopping power. The good news? You can spot wear long before it becomes an emergency.
Knowing how to inspect your brakes isn’t just about saving money on rotor replacements; it’s about knowing exactly when your car will stop. Whether you drive a daily commuter sedan or a heavy-duty truck, the signs of wear follow a predictable pattern. You don’t need a mechanic’s degree or expensive tools. With a flashlight, a tape measure, and five minutes, you can assess your braking system’s health right in your driveway.
The Visual Check: What to Look For
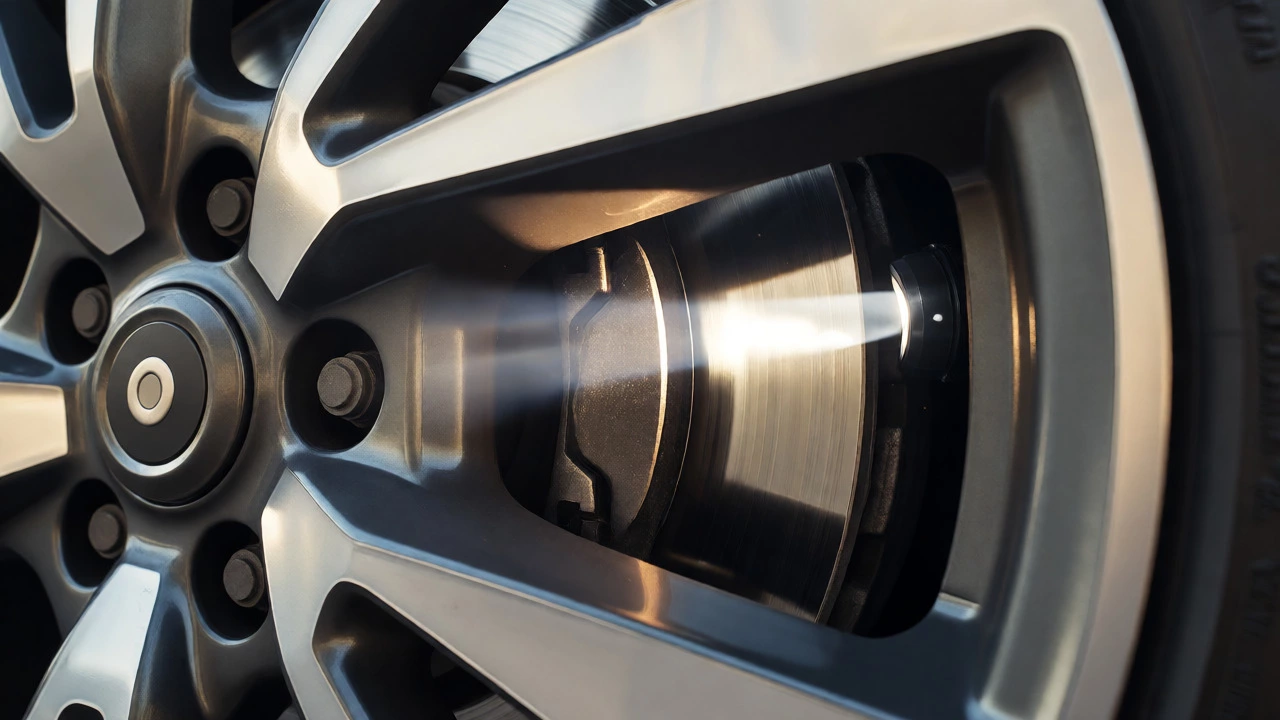
The most direct way to judge pad life is by looking at them. On many modern cars, you can see the pads through the spokes of the wheel without removing anything. Park on a flat surface, let the wheels cool down (hot rotors can warp if touched with cold water or wet cloths), and shine a bright flashlight between the wheel spokes.
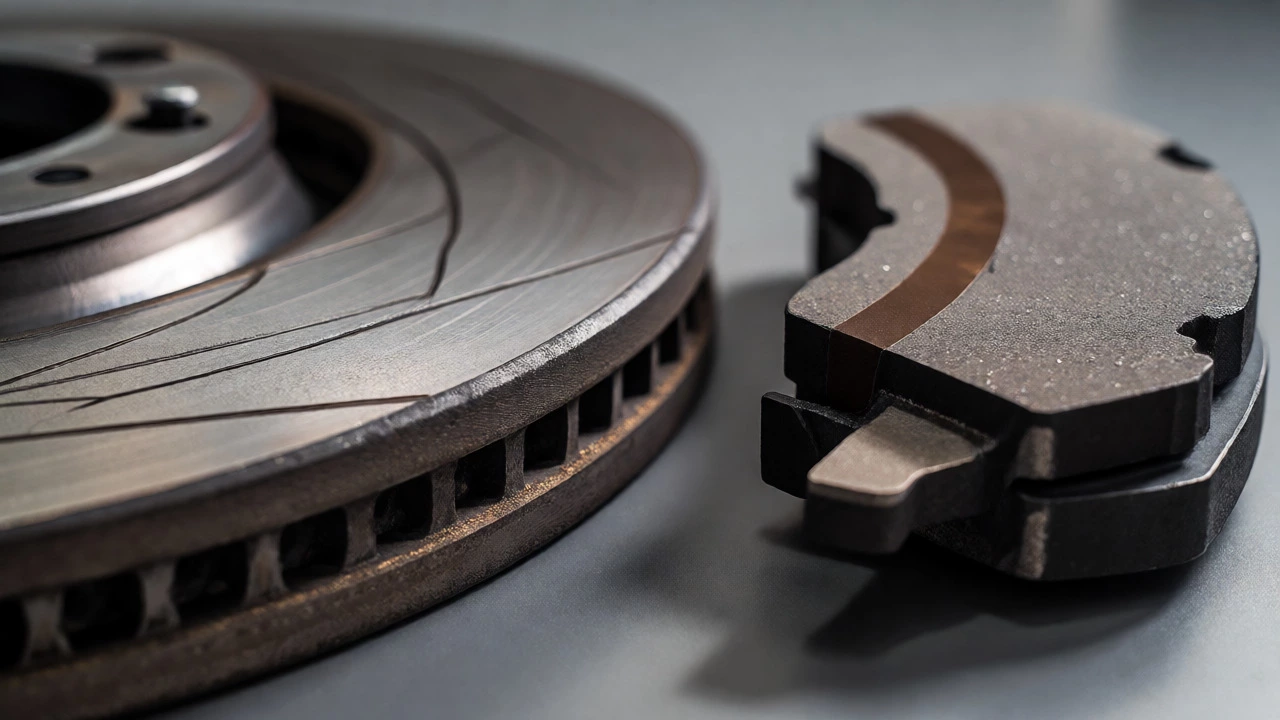
You are looking for the friction material-the thick part of the pad that presses against the rotor. New pads usually have about 10-12 mm of this material. As they wear, this layer thins out. Here is the rule of thumb used by mechanics:
- New: 10-12 mm (full thickness)
- Moderate Wear: 5-6 mm (plan for replacement soon)
- Critical: Less than 3 mm (replace immediately)
If you see less than 3 mm of friction material left, do not wait. At this stage, the metal backing plate is close to touching the rotor. Some drivers try to stretch their budget here, but replacing pads at 4 mm costs significantly less than replacing pads and damaged rotors at 1 mm.
Listen to Your Brakes: The Warning Signs
Your car talks to you. It just doesn’t use words. Manufacturers install small steel tabs called wear indicators on brake pads. When the friction material wears down to a critical level, these tabs scrape against the rotor, creating a high-pitched squeal or screech. This is designed to be annoying so you notice it.
But not all noises mean the same thing. Here is how to decode the sounds:
| Sound | Likely Cause | Action Required |
|---|---|---|
| High-pitched squeal | Wear indicator contacting rotor | Schedule replacement within 1-2 weeks |
| Grinding or growling | Metal backing plate rubbing rotor | Stop driving; tow vehicle if possible |
| Clicking or clunking | Loose caliper or hardware | Inspect immediately for loose parts |
| Squeaking after rain | Rust dust on rotors | Normal; should clear after a few stops |
Be careful with the "squeak after rain" scenario. Light rust forms on cast iron rotors overnight, especially in humid climates like Hamilton. A few gentle stops usually polish this off. If the noise persists dry, it’s time for a visual check.

Feel the Pedal: Tactile Feedback
Visual checks miss internal issues, but your foot knows what’s happening. Changes in pedal feel often indicate uneven wear or glazed pads. Glazing happens when pads overheat, causing the surface to harden and lose friction efficiency. This is common if you ride the brakes downhill or drive aggressively in city traffic.
Pay attention to these sensations:
- Pulsation: If the pedal vibrates under your foot during braking, your rotors might be warped. While this isn’t strictly a pad issue, worn pads contribute to uneven heat distribution that warps rotors.
- Softness: A spongy pedal can mean air in the lines, but it can also signal severe pad wear where the caliper piston has extended far out, changing the hydraulic leverage.
- Longer Stopping Distance: If you find yourself pressing harder or earlier to stop, your friction material may be thinning or contaminated with oil/grease.
Test this safely. Find an empty parking lot. Accelerate to 30 km/h and apply steady pressure. Note how much pedal travel occurs before the car slows noticeably. Compare this to your memory of when the brakes were new. If the change is significant, get a professional inspection.
Dash Lights and Electronic Sensors
Many newer vehicles come equipped with electronic wear sensors. These replace the mechanical steel tabs. Instead of scraping, they monitor electrical resistance. When the pad material wears away, the circuit breaks or changes resistance, triggering a warning light on your dashboard.
This is convenient, but don’t rely on it exclusively. Sensors can fail, or the bulb itself might burn out. Always perform a manual visual check every few months, even if no light is on. Also, note that some cars have separate lights for ABS faults versus brake pad wear. Know which icon indicates pad wear in your owner’s manual. Usually, it looks like a circle with dashed parentheses around it, distinct from the exclamation point inside a circle used for general brake system warnings.
Step-by-Step Inspection Routine
Make this a monthly habit. It takes less time than filling up your gas tank.
- Clean the area: Dust and road grime hide details. Use a damp cloth to wipe visible areas around the wheel spokes.
- Check both sides: Front pads wear faster than rear pads due to weight transfer during braking. Inspect all four corners.
- Measure thickness: Use a ruler or caliper if possible. Eyeballing can be deceptive. If you can’t reach, look straight across from the center of the wheel.
- Look for uneven wear: One side of the pad might be thinner than the other. This suggests a sticking caliper slide pin, a common issue that requires cleaning and lubricating, not just new pads.
- Inspect the rotor: Run your finger (when cool) along the rotor edge. Deep grooves or a raised lip indicate significant wear. If you feel a sharp edge, the rotor may need resurfacing or replacement.
Remember, safety is non-negotiable. If you are unsure about what you see, take photos and show them to a trusted mechanic. Better to ask than to guess.
How many kilometers do brake pads typically last?
It varies widely based on driving style and conditions. City driving with frequent stops might yield 30,000-50,000 km. Highway driving can extend life to 80,000 km or more. Aggressive driving shortens lifespan significantly. Always inspect rather than relying solely on mileage estimates.
Can I drive with worn brake pads?
Technically yes, until the metal backing plate touches the rotor. However, driving past the 3mm mark risks scoring the rotor, turning a cheap pad job into an expensive rotor-and-pad replacement. Driving with grinding noises is dangerous and illegal in many jurisdictions due to excessive noise and reduced safety.
Why are my front brake pads wearing faster than the rear?
This is normal physics. During braking, weight shifts forward, placing more load on the front tires and brakes. Most cars are designed with larger front rotors and pads to handle this extra force. Rear pads often last twice as long as fronts.
Do ceramic brake pads last longer than semi-metallic ones?
Ceramic pads generally offer quieter operation and produce less dust, but they aren't necessarily longer-lasting in all conditions. Semi-metallic pads provide better heat dissipation and initial bite, making them preferred for towing or performance driving. Ceramic is ideal for daily commuters seeking comfort and cleanliness.
What does a 'raised lip' on the rotor mean?
A raised lip is the outer edge of the rotor that hasn't been contacted by the pad because the pad was slightly smaller or worn unevenly. If the lip is deep, the rotor may be too thin to resurface safely and needs replacement. Measure rotor thickness with a micrometer if possible.