DIY Brake Pad Replacement: How to Do It Right and Save Money
When your car starts squealing or the brake pedal feels spongy, it’s usually time for a DIY brake pad replacement, the process of removing worn brake pads and installing new ones to restore stopping power and safety. Also known as brake pad install, this is one of the most common and rewarding repairs you can do yourself—no garage required. Most brake pads last between 25,000 and 70,000 miles, but if you drive in stop-and-go traffic or haul heavy loads, they’ll wear out faster. Skipping this repair doesn’t just mean noisy brakes—it risks warped rotors, damaged calipers, and even brake failure.
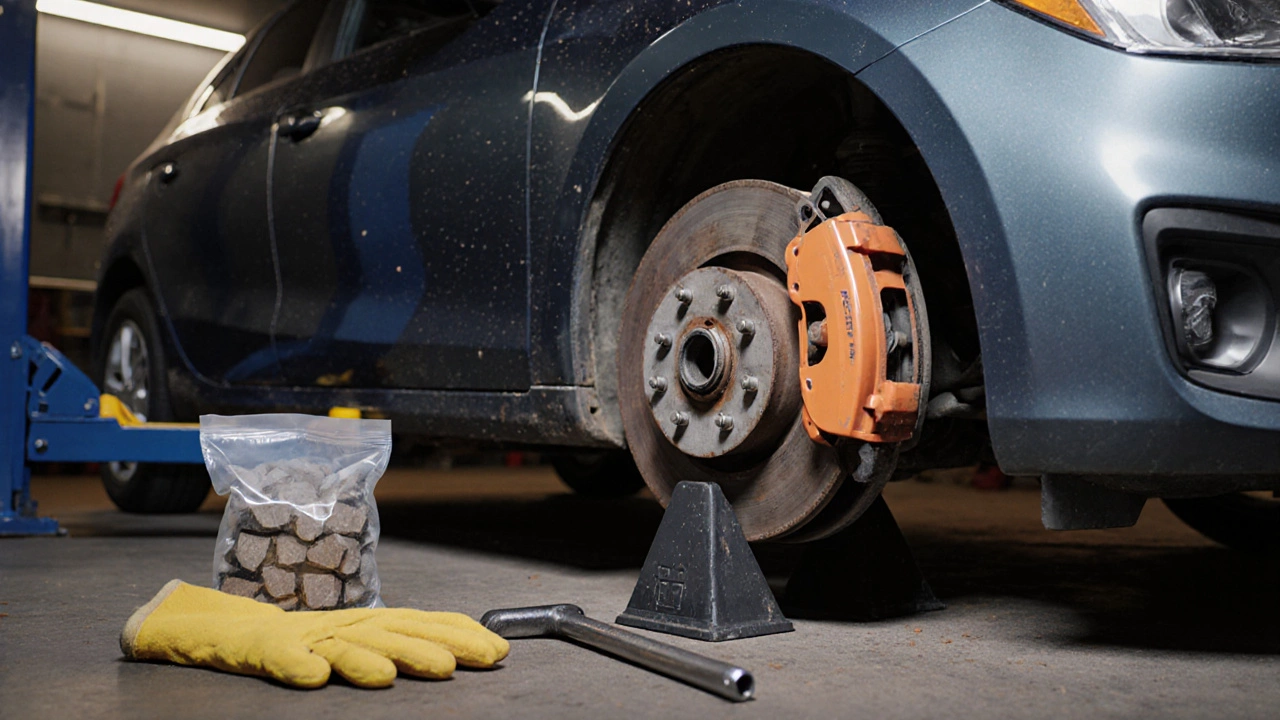
A brake system, the assembly of components that slow or stop your vehicle using friction and hydraulic pressure isn’t complicated, but it’s critical. The pads clamp down on the rotors, the metal discs attached to the wheel hub that spin with the tires, creating friction to slow the car. Over time, that friction wears the pads thin. You can’t see the wear just by looking at the wheel—you need to check thickness, listen for noises, and feel for vibrations. A good rule of thumb: if the pad is less than 1/4 inch thick, it’s time to replace.
You don’t need fancy tools. A jack, jack stands, a socket set, a C-clamp, and brake cleaner are all you need. The hardest part is lifting the car safely. Once it’s up, removing the caliper bolts and sliding out the old pads takes less than an hour per axle. Many people skip replacing the hardware—like clips and shims—but reusing worn parts causes noise and uneven wear. Always buy new hardware with your pads. And never skip bleeding the brakes after replacement. Air in the lines means spongy brakes, and that’s dangerous.
There’s a big difference between cheap pads and quality ones. Ceramic pads last longer, make less dust, and are quieter. Semi-metallic pads handle heat better and are better for heavy drivers or hilly areas. Avoid the cheapest pads you can find—they wear fast, fade under pressure, and can damage your rotors. Brands like Akebono, Bosch, and Power Stop are reliable and widely available at auto parts stores.
Most people think brake jobs are expensive because shops charge $300-$500 per axle. But if you do it yourself, you’ll spend under $100 for parts and tools you’ll use again. You’ll also learn exactly what’s going on inside your brake system—so you’ll know when something’s wrong next time. This isn’t just about saving money. It’s about knowing your car, staying safe, and not being at the mercy of a mechanic’s schedule.
Below, you’ll find real step-by-step guides, common mistakes to avoid, and what to check when your brakes start acting up. Whether you’re replacing pads for the first time or just want to confirm you’re doing it right, these posts give you the clear, no-fluff advice you need to get it done safely and confidently.
Changing Brake Pads by Yourself: DIY Guide
Learn how to replace brake pads by yourself with a step‑by‑step guide, tools checklist, safety tips, and FAQs for a safe DIY brake service.